

La Cravate: Originally made popular by 17th Century Croatian Military stationed in France. As legend has it, the name was derived from the French who poorly pronounced the word “Croat”, short for “Croatian”. Louis the XIV had adopted the style, which in turn made the necktie a symbol of status. By the late 18th Century, the style in which a man tied his necktie knot became an indicator of class and individual taste, making it imperative that a man understood how to tie a proper knot in his necktie. [1]
For over 400 years, the necktie has been a staple of men’s formal wear. Although, throughout that time and until this day, there has always been emphasis made on the knot. However, there are a couple more overlooked elements to tying the perfect tie. Equally as important to the knot is the dimple which sits just beneath the knot, in addition to the length of the tie.
Here is a short list of the most common knots:
1. Four-In-Hand (Simple or Schoolboy) Knot
2. Pratt-Shelby Knot
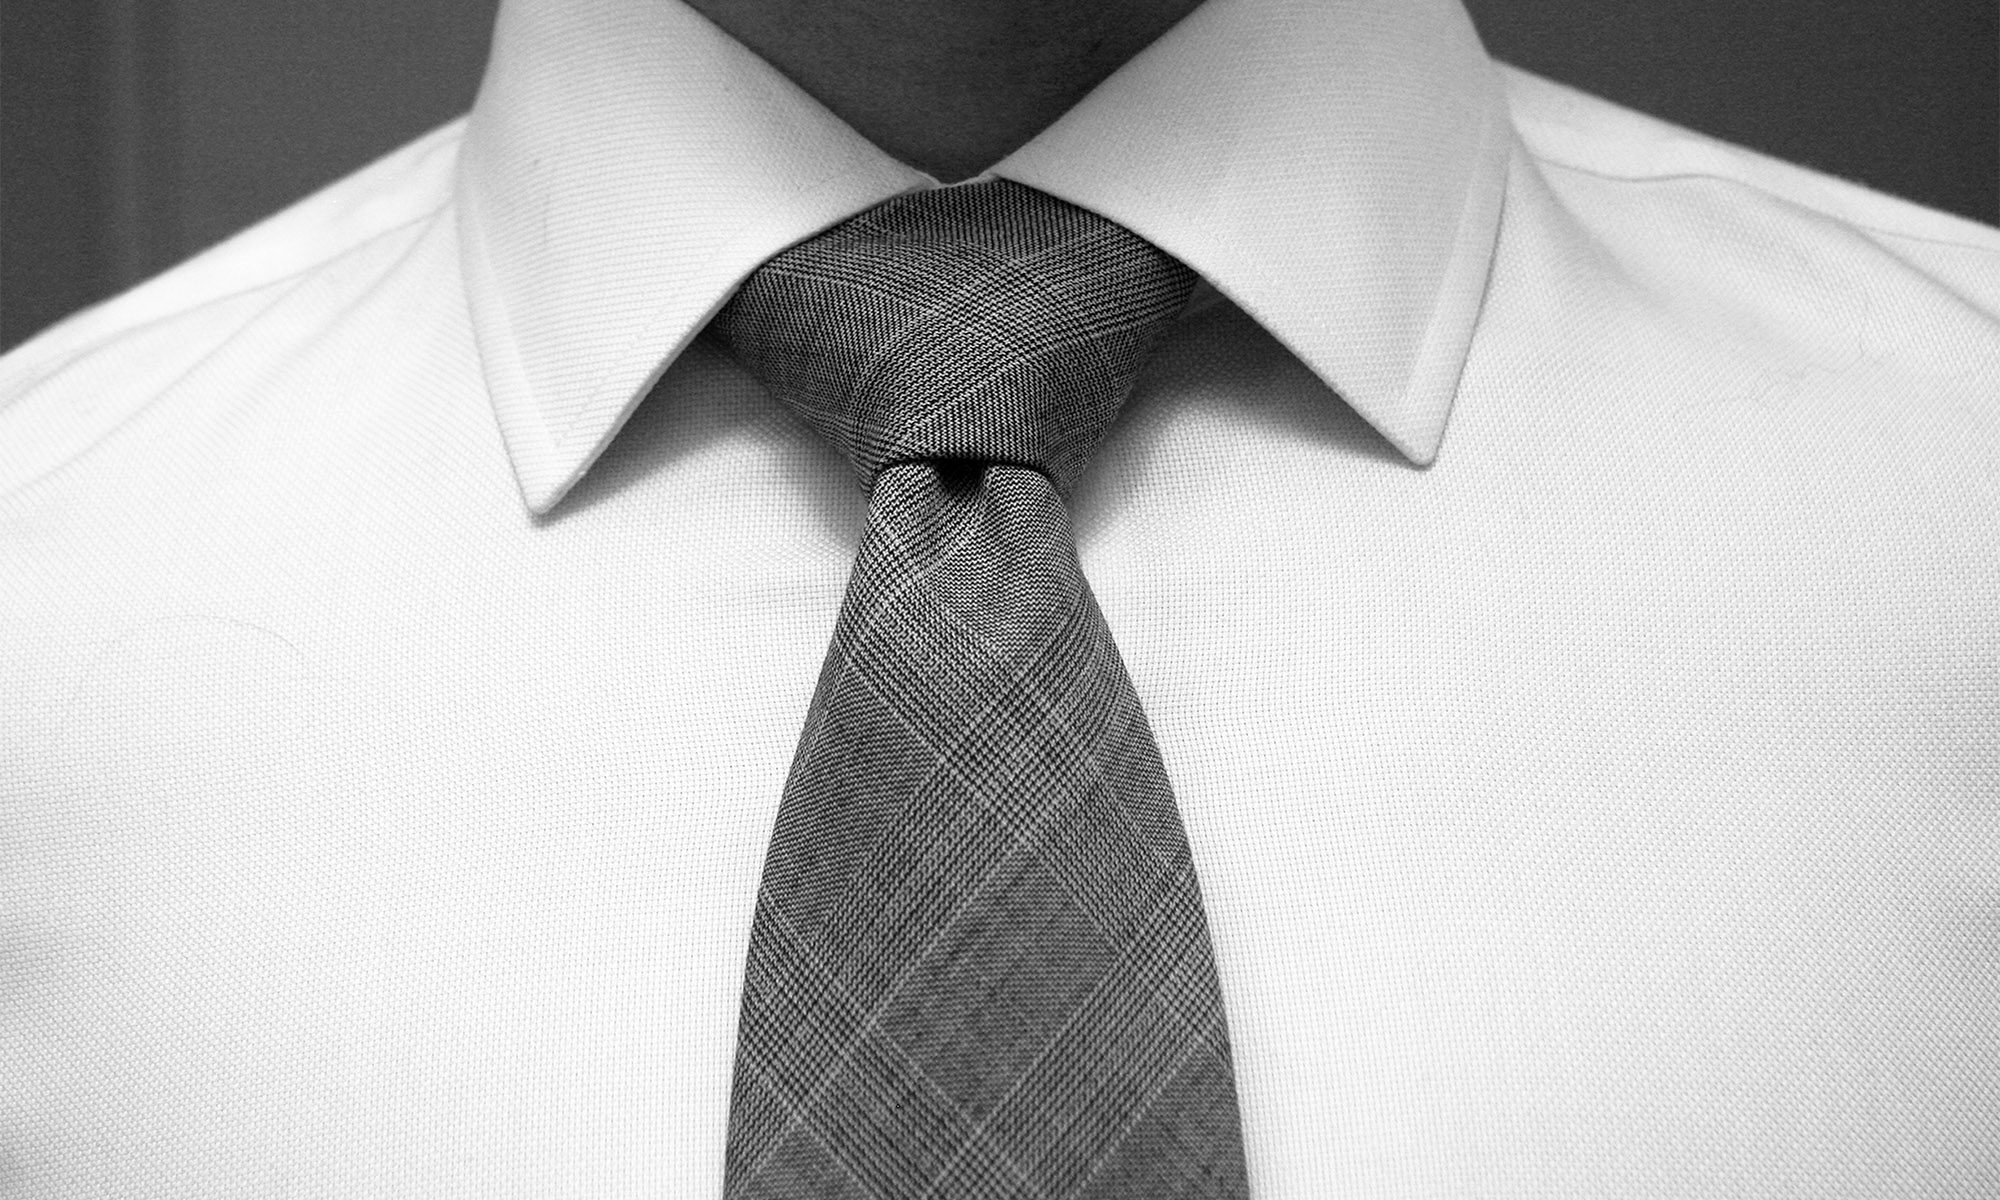
3. Half Windsor (Single Windsor) Knot
4. Windsor (Full Windsor) Knot
1. Four-In-Hand Knot
This knot is also referred to as either “the simple or schoolboy knot” due to its sloppy, asymmetrical and small knot. It is one of the easiest ways to tie a tie. This knot is acceptable for many an occasion, although it is not advised showing up to the Queen’s ball with it.

2. Pratt-Shelby Knot
The main difference with this knot as compared to any other is that it starts off with its ‘reverse side out‘. This knot actually uses less length of the tie which makes it beneficial for taller or larger men. It is also a symmetrical knot which is more acceptable at formal events. Bonus!

3. Half Windsor Knot
This is the neater alternative to the previous two knots, but is also slightly larger and more triangular in shape. Acceptable at any event or occasion.

4. Windsor Knot (NO such thing as a double Windsor)
The neatest, yet bulkiest of tie knots. Acceptable at any event or occasion, although should only be used when the shirt collar accommodates for such a bulky knot. This tie will often need to be approx. 1.5in longer than the average tie to allow for the larger knot.

These four knots are all self-releasing, which means you can undo the tie by pulling on the knot. That’s it.
Now that you know the 4 most common knot variations of the self-release necktie, let us discuss the final two elements…the dimple and the length.
The Dimple: Formed on the final stage of the necktie tying process. As the larger side of the tie makes its way through the knot, it is compressed on either side giving it a neat depression. This depression naturally tapers off as the tie opens up towards the bottom. The dimple is an equally essential part of the tie as much as the knot is. However, the only knot (in this short list) exempt from requiring a dimple is the Four-In-Hand because of its sloppy nature.
The Length: Once the knot is tied and the dimple depressed, the tie should fall just below the waistline and just above the belt line. Anything more or less than that is unacceptable. Period.
It will take a little bit of patience and practice tying these knots again and again to get it just right. Nevertheless, once you do get it, then you’ve got it for good!
by Nicholas Lucin
This really answered my drawback, thank you!